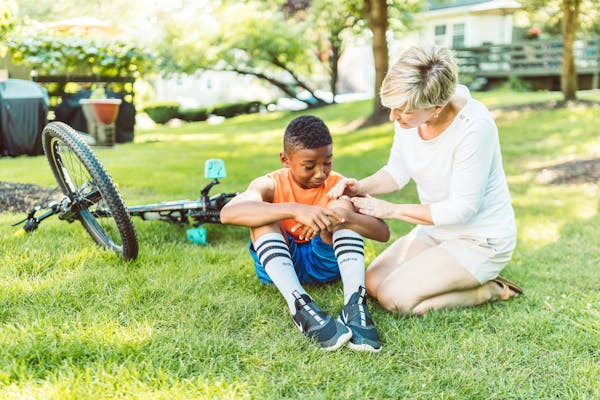
There’s nothing bad like having to change a bike tire in the middle of the ride. The joy can grind to a halt but with tools and skills, you can fix it instantly. While you can fix it yourself, this is a fantastic opportunity to empower your child and teach them valuable life skills. My kids cycle with their buddies when I’m not around. I just imagined how devastated they would be for being unable to ride due to a flat tire. The rear one is even more challenging to remove than the front one!
It’s vital that your child learns how to fix a tire. This is not just to help themselves but also to help their friends. They must always have a bicycle tire changing kit with them all the time. Disaster strikes unexpectedly. Most importantly, they should learn how to change the rear bike tire as it’s the most challenging. Read on and help your child learn how to change a tire.
Bike Tire Changing Tools
You can’t change the tire with your bare hands. Neither can you kid do that. You need to have the right tools to remove not only the tire but also the wheel. Moreover, once you fix the tire, it must be inflated. Here are the tools you need.
- Bike pump or inflator
- Tire levers
- Inner tube or new tire
- Wrench
- Flat head screwdriver
How do You Change a Bike Tire Step by Step
When someone says “changing a bike tire,” they mean changing the tube or changing from a worn-out tire to a new one. Kids are brutal to their bikes. Soon enough, you’ll have one thing or another replaced, but the tubes are the most commonly replaced. Here, we will discuss the steps your kid needs to take when changing a bike tire.
Prep Your Kids Bike for Wheel Removal
Before taking off the wheel, it’s best to create a safe and easy workspace. Find a flat, secure area and lay down a mat to protect your bike and the work surface. Carefully turn the bike upside down, and let it rest the handlebars and the saddle settle on the mat. Just doing this will make your young one get so much more interested.
If your child’s bike has gears, shift them to the smallest cog in the back. If the bike uses front gears, shift down to the smallest chain ring. This loosens the chain tension and makes it easier to remove the rear wheel.
Show them How to Remove the Wheel
Most kid bikes often have nuts and bolts securing the wheels. If this is what your kid’s bike is, you should have a set of wrenches or an adjustable one. Find the nuts or bolts on either side of the axle. With the correct wrench size, loosen and remove the nuts or bolts completely. Once free, lift the wheel straight up and off the axle and put it on the side. This one your kid must watch and learn. Their hands may not be strong enough to loosen the nuts, though.
Quick releases and thru-axles are common on adult bikes, but some larger children’s bikes might have them, too. Locate the lever or nut on the axle mechanism. For quick release, open the lever completely. Open the lever and loosen the nut using your wrench for thru-axles until the axle can be pulled out. With either system, the wheel should now slide out freely. Kids can manage to tighten the quick releases by themselves. Remind them to be watchful of the hydraulic brake lever. Hitting the brakes with the wheels off can push the pistons out and drain the fluid.
Deflate the Tire
With the wheel off, the tire must be deflated before removing it. If the wheel was already flat, then you’re good to go! But for a slow leak, you’ll want all the air out. A slightly inflated tire makes removing the inner tube much tougher. Suppose you are replacing the old tire with a new one. You must deflate it.
Find the valve on the inner rim – it’s a small metal piece with a cap. Unscrew the cap and use the valve tool to press down on the tiny pin in the center of the valve. You’ll hear the air whoosh out. Keep pressing until the hissing stops. Better yet, let your child do that themselves.
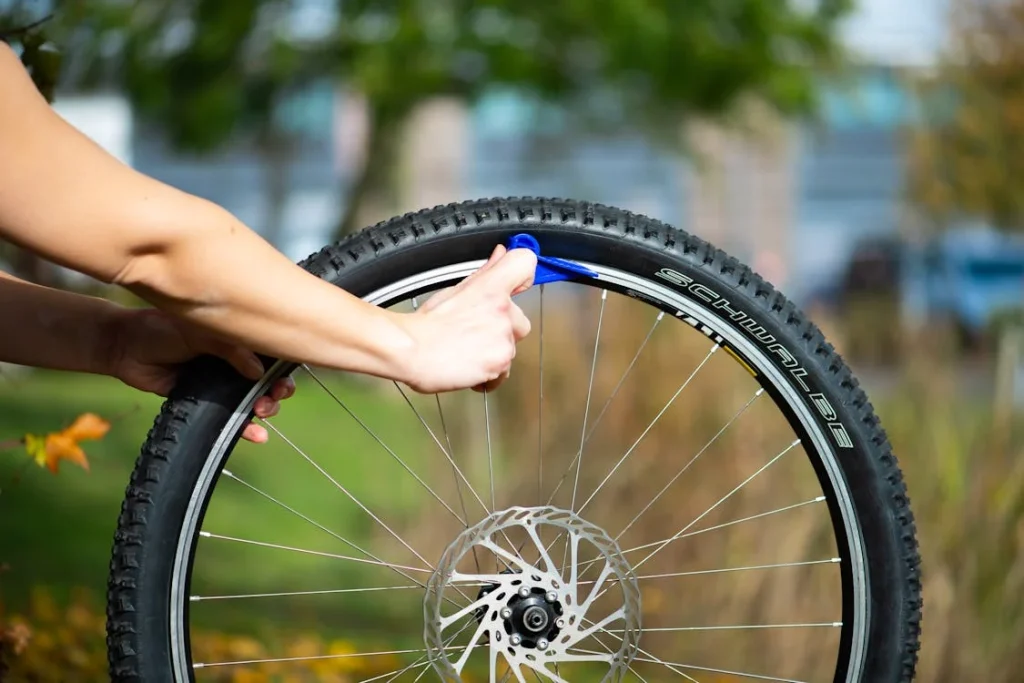
Remove the Bike Tire from the Wheel

Now, let’s remove the tire. We’ll be using the tire levers to pry the tire off the rim. While a screwdriver might seem like a handy tool, it can easily puncture the tube or tire. Using the wrong tool is as bad as wearing the wrong cycling clothing. Let’s start by unseating the tire from the rim walls by pushing it with your hands.
Now, grab your set of levers. Carefully push the lever down, hooking the tire bead and flipping it over the rim. Once secure, hook the lever onto a spoke for stability. Grab another lever and repeat the process. Pry the tire loose section by section. Finally, one side of the tire will be settling outside the wheel.
Replace the Tire or Tube
Let’s get that new inner tube in there! After inspecting the tire for any sneaky thorns or debris, it’s time to wrestle the tire back onto the rim. But that’s if you didn’t change your tire. A new tire will make it safer for your child to ride. It will also minimize the chances of getting punctures. Personally, I prefer replacing both at the same time. Sure, your child is watching you do all this to learn. Ask them to unwrap the tube from the package. Then, show them this procedure:
Step 1: Push one edge of the tire back onto the rim.
Step 2: Leave the other side loose for now to create space to install the new tube.
Step 3: Take your new tube and inflate it slightly, just enough to hold its round shape.
Step 4: Carefully guide the valve stem through the hole in the rim.
Step 5: Gently push the rest of the tube into the tire cavity.
Reinstall the Tire
You should get the tire back on the rim without pinching the inner tube. If you do, you’ll be forced to remove the tire again and patch the tube. Make your kid understand the statement “only have one job.”
Start by using your thumbs as much as possible. Carefully push the tire bead back onto the rim, using the slack you created earlier to your advantage. As you work your way around, try squeezing the tire inwards again to make more slack, especially for that tricky final section.
Some tires might be happy to be coaxed back on entirely by hand. But for tougher tires, you might need to call on your trusty tire levers again. One at a time, carefully wedge a lever under the bead and hook it over the rim.
Inflate the Tire

Now inflate the new tube to its recommended pressure, usually printed on the tire sidewall or your bike’s manual. Ensure your child knows how to check it and see the same on the pump scale.
Before inflating, perform a safety check. Double-check that the inner tube isn’t pinched anywhere and both sides of the tire are appropriately seated on the rim. Any bulges or unevenness could mean a trapped tube, so fix it now to avoid a frustrating re-do.
Gently inflate the tire, looking for bulges or uneven sections. Let your kiddo play with the pump. If they are around ten or older, they can inflate the tires themselves. The tire might make a popping sound as it snaps into place on the rim – don’t worry, that’s normal! Once inflated, remove the pump and secure the valve. Spin the wheel to check for any wobbles or bulges.
Put the Wheel Back
This is the last step before your child jumps on the bike and rides away from view. Slide the fixed wheel back into its slot on the fork or the frame rear. If you use a quick release, close the lever and tighten it by hand. For nuts and bolts, use your wrench to snug them securely.
If the bike has a rear derailleur, pull it towards the rear. Also, lift the chain slightly to reattach it to the cassette. Spin the wheel! Make sure it rotates freely, with no wobbles or brake rubbing. Once you are sure the bike is in the best rideable condition, flip it back to position. Let it rest on its wheels. Give your child a high-five and tell them to go ride. Remid them to always check for oncoming before joining the road and use hand signals.
Now, Let’s Hit the Road
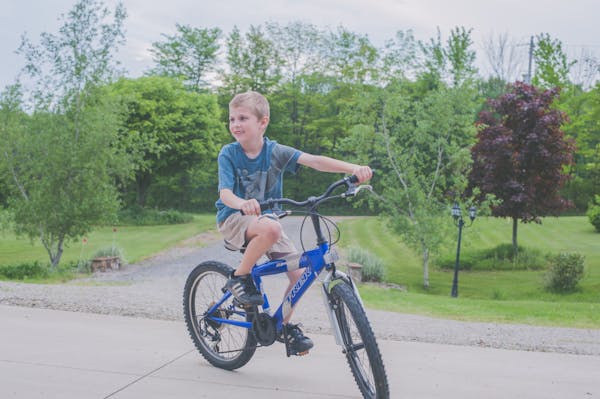
My kids are not old enough to change a bike tire, but they enjoy seeing me do it. They also try to contribute where possible by handing over the bike tire change tools. But whenever we change anything on the bike, it feels like a new bike for them. Their love for the bike is unmatched, and if they don’t ride for days, they would want to squeeze all those missed moments in one day when they get a chance. Going back to you, your child will not miss riding if they know how to fix their bike. Make a bike mech out of them!