

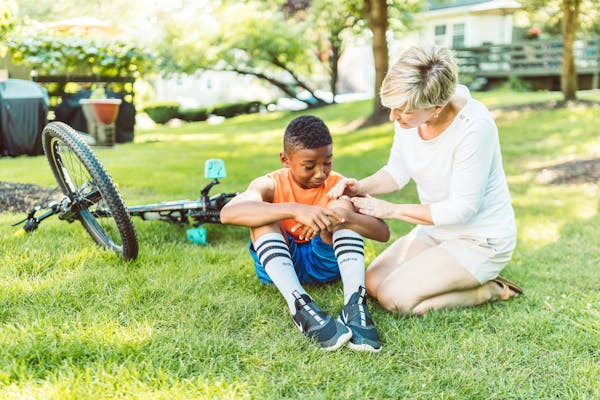
Nothing is as exciting as teaching your kid how to balance on a bike and pedaling it forward. Once you are past that stage, nothing will stand in the way of your child being the next big champion or exhilarating fun. However, we live in a dangerous world.
According to the National Safety Council, 966 cyclists were hit and killed by motor vehicles in 2021. You don’t want your kid to be a statistic. However, millions of cyclists, including me and my kids, hit the road weekly and we are very much alive. What you need to do is teach your kids safety. The most important thing is showing them how to communicate with those behind them. We will show you how to teach your child to use hand signals while cycling and many more.
What are Hand Signals?
A hand signal is a movement of the hand meant to convey information or instructions. You have likely watched movies of the Marines moving toward the target straight out of the swamp, without uttering a word but hand gestures. They’re helpful when the one you are communicating with is looking at you and understands the meaning of the gesture.
Hand signals are relatable and easy to understand when it comes to cycling, even for drivers. If I was sitting behind the wheel and someone made a hand signal, I would try to figure out what they meant. Chances are I wouldn’t be far from being correct, and I would also be extra alert. For example, if someone pointed towards the left, I would assume that’s the direction they’re likely to take or want me to give way on my lane. It works just like car indicators.
Cycling Hand Signals

Learning hand cycling while cycling assures a lifetime of safe riding, whether casually or to school. However, it takes time for the kids to overcome their fear of falling when they let go of one side of the bar. You must help develop the confidence to take off the hand of the side they intend to signal while the other hand maintains a firm grip on the handlebars.
Here are some hand signals you should teach your child.
Left turn: Extend your left arm with your fingers pointed out and point to the left.
Right turn: Extend your right arm, of course, with your fingers out, and point to the right.
Stop: Extend either of your hands and bend your arm at the elbow joint. The hand should point upwards with the palm facing forward.
Slow Down: Wave your hand up and down twice or thrice, with the palm facing downwards.
Give Way: Wave your hand front and back, twice or thrice, with your palm facing front, like you are calling someone behind you.
Road Hazard: Point at the hazard to notify other road users, and if it’s an enormous pothole or hazard, spin your hand around.
When to Use Hand Signals
Your kid must know when to use hand signals. They need to be clear about what they are doing, not to confuse other road users. Here’s when they should use a hand signal.
When turning
You don’t want your child to end up under the car behind when taking a turn. That’s what I remind my daughter every day. You and the motorist should be in communication. If the driver spots you making a hand signal, he will know you are about to turn in that direction and react safely.
Planning to stop
Sometimes, your child might want to stop for a short break or to hydrate. They should signal for half a minute or so to ensure that other road users see it and understand that they want to stop.
When avoiding something
If your child is approaching a junction, parked cars, road maintenance, or a porthole, it will be best for them to alert the cyclists or drivers behind them. It’s also always advisable to signal when shifting lanes.
When Not to Use Hand Signals
Hand signals are helpful, but not all the time. In fact, make your young one understand that they need both hands on the bars at all times unless they want to make a crucial hand signal. Here’s when your child should not use hand signals.

When there’s no one behind them
Teach your child that if there are no other road users, then there’s no need to signal. However, the kid must ensure no one is behind them before proceeding.
When it’s too early to signal
If you signal too early, you might confuse other road users. Train your kid to make hand signals and show their intentions when they are about to execute.
When both hands are needed on the handlebars
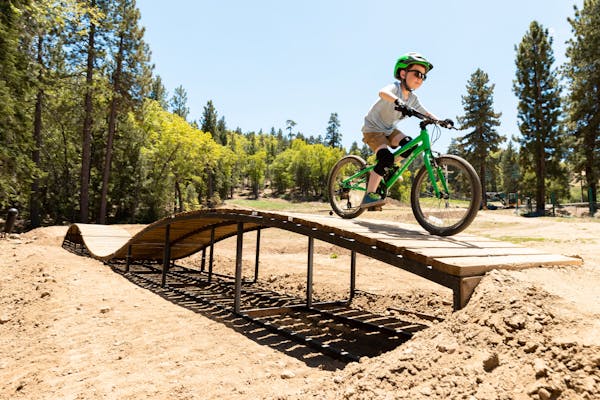
If your kid still zigzags on the bike, they should have both hands on the handlebars when turning. They should make hand signals and get their hand back on the bars as they proceed. A cycling obstacle course with help make them more confident to ride with one hand.
The Steps
One thing worth knowing is that hand signaling must be paired with other actions. There’s more to be done in that split minute. There are steps to take before and after the signal.
Step 1: Look behind briefly
Looking behind you is the most crucial step. Teach your kids to know who they are signaling to. Timing is also essential. If there’s a car going past your child, it’s best to let it pass and signal to the next oncoming. If there’s no car behind them, then they shouldn’t signal.
Step 2: Make the signal
Show your child that a signal should last long enough but not too long or too short. If it is too short, the driver behind you might be distracted and miss it, and if it is too long, you’ll confuse the driver. Only signal if you can control your bike at the same time. If not, stop on the roadside and ask for a way or wait for it to clear.
Step 3: Check for response
Ask your child to proceed only after looking behind again to see if the driver has seen the signal and responded. If not, they should signal again. A response can be slowing down, waving, turning on the hazard indicators, or eye contact. If they are unsure if the drivers have seen it, they should not make the move. Instead, your kid should make the signal again.
Step 4: Make the move
If your son or daughter is sure that the drivers have seen their signal, they should make the move. While they do so, they should be cautious to ensure the driver doesn’t decide to move too. It usually happens that when you take longer to move, drivers feel like they have the right of way or are impatient and can’t wait any longer.
Other Safety Tips

Helmet is important
Make sure your child is wearing a helmet all the time. It protects their face, head, and brain at all times in case they end up crashing. The helmet must meet the U.S. Consumer Product Safety Commission’s standards. It should fit correctly, not rock forward and backwards. The straps should not run over the ears and not be too tight.
Dress them appropriately
Long and loose clothing is not only uncomfortable and messes with their cycling, but it also puts your kid at risk of getting caught in the wheels and chain. Also, the clothing should be colorful and reflective for better visibility. Luminous green and orange are among the best colors for daytime cycling. They should also have reflective strips that reflect light at night and increase visibility at night.
Teach them to obey traffic signals
All road users, including young cyclists, should obey all street signs, crossing signals, and traffic lights. Make your kids understand they should ride in the direction of traffic, not against it.
They should have lights
Headlights and rear lights are crucial for visibility, especially when it’s dark. My daughter Katie likes spoke lights, and I also got him a helmet with a pre-installed light. He can still ride confidently at dawn.
Bike maintenance is key
Now, this is your responsibility as a parent. Ensure your kid’s bike is perfect and ready for cycling before they set out. Secure the reflectors and the lights and ensure they won’t fall off. Retune the gears and ensure they are shifting smoothly. Also, take a look at the brakes and ensure they are working perfectly. The tires should be appropriately inflated as well.
Takeaway
Your kid’s safety starts with you showing them what to do. Whether you have to ride with them or teach them safety in a coloring book, you have to do what you must ensure they are safe, especially when you are not riding with them. Teach your little champion how to make hand signs. That will encourage them to ride more!

Pingback: How to Introduce Your Child to Mountain Biking - Kiddie Cyclist
Pingback: How to Teach Your Child About Cycling Etiquette - Kiddie Cyclist